Morning,
Hope everyone is well. I have another cute box to show you that I copied off Patti (one of my all time favourite bloggers)
These are both done differently. One I embossed and the other I have left plain. I, personally, like it both ways.
Not a great photo, but just wanted to show you the inside and how cute the box is, sitting in there!!
Stamp set:
Card: Pink pirouette, riding hood red
Ink: Riding hood red
Acc: Ribbon, twine and brads
Tools: Full heart punch, word window punch, heart to heart, lge tag and sml tag punch and lastly crop-a-dial
So, some quick instructions:
1 piece of card (pink pirouette) 81/2" x 4", scored at 31/4". 41/4" and 51/4".
1 bottom of the matchbox die (big shot) - riding hood red
Fold the 81/2" x 4" in half, place on top note die (making sure the fold is inside the top note to get an extended top note to fold around your box)
Put aside and make your matchbox. I love this die, how easy is it to make. Once you have your bottom made, place sticky strip on the bottom of the box and then carefully put inside the top note. Use the crop-a-dial to make holes at the top and thread your ribbon through. Decorate as desired. Patti has a step by step tutorial on her site.
At any time ( if the instructions are not easy to understand, let me know and) I will do a tutorial on any of my posts.
Have a lovely day...
Friday, February 4, 2011
Thursday, February 3, 2011
Flowers and Butterflies
Hi,
My next challenge, lucky there were some good shows on television tonight. Yes, I am one of those crafters that needs to have something happening around me. I concentrate better with a lot happening, think it had something to do with growing up in a big family.
I have to warn you: I am into butterfie's for some reason. The last few cards I have done just needed them!!!!!
This is my challenge for Colour Q
So, of course I have not done a male card. I'll leave that for next time.

And here is my card;
Stamp set: Pocket silhouette
Card: Poppy parade, cameo coral, blushing bride, early espresso and vanilla
Ink: Poppy parade
Acc: Designer brads
Tools: Paper piercer and mat, crop-a-dial and word window punch
I hope you like it,
Have a great day....
My next challenge, lucky there were some good shows on television tonight. Yes, I am one of those crafters that needs to have something happening around me. I concentrate better with a lot happening, think it had something to do with growing up in a big family.
I have to warn you: I am into butterfie's for some reason. The last few cards I have done just needed them!!!!!
This is my challenge for Colour Q
So, of course I have not done a male card. I'll leave that for next time.

And here is my card;
Stamp set: Pocket silhouette
Card: Poppy parade, cameo coral, blushing bride, early espresso and vanilla
Ink: Poppy parade
Acc: Designer brads
Tools: Paper piercer and mat, crop-a-dial and word window punch
I hope you like it,
Have a great day....
Love, love, love
Goodn morning,
I have been struggling with my challenges this week and putting them off. But I felt inspired today. I had a friend (Sonja), who is a stampin' up demonstrator as well. And we were playing with her blog. So I think that got me inspired tonight. The only trouble is, my camera won't take a picture at night !!!!!!!, so I have to wait for the morning and I don't know if I will miss one of the challenges. But I will try.
I have made a card to fit two of the challenges:
This is one and also
Cooking it up with Katie:
Use something Metal
Add a little Brown
Make sure you have 2 Designer Papers
And here is my card:
This top started off on a box and then on the front of green card but I think it looks great on the chocolate.
Stamp set: Baroque motifs, cottage garden
Card: Chocolate chip, pink pirouette, dsp - jolly holiday, cherry cobbler
Ink: Old olive, pink pirouette and cherry cobbler.
Acc: Hodgepodge hardware (retired)
Tools: Big shot, perfect polka dots, 13/8", 1/1/4" and 1" circle punches.
I sponged the edges of the pink pirouette card and I adhered the dsp to the Cherry cobbler and put it through the big shot. I have seen heaps of cards lately where the layers are added to the embossing and I love it. Gives it a whole new look.
Hope you have a great day....
I have been struggling with my challenges this week and putting them off. But I felt inspired today. I had a friend (Sonja), who is a stampin' up demonstrator as well. And we were playing with her blog. So I think that got me inspired tonight. The only trouble is, my camera won't take a picture at night !!!!!!!, so I have to wait for the morning and I don't know if I will miss one of the challenges. But I will try.
I have made a card to fit two of the challenges:
This is one and alsoCooking it up with Katie:
Use something Metal
Add a little Brown
Make sure you have 2 Designer Papers
And here is my card:
This top started off on a box and then on the front of green card but I think it looks great on the chocolate.
Stamp set: Baroque motifs, cottage garden
Card: Chocolate chip, pink pirouette, dsp - jolly holiday, cherry cobbler
Ink: Old olive, pink pirouette and cherry cobbler.
Acc: Hodgepodge hardware (retired)
Tools: Big shot, perfect polka dots, 13/8", 1/1/4" and 1" circle punches.
I sponged the edges of the pink pirouette card and I adhered the dsp to the Cherry cobbler and put it through the big shot. I have seen heaps of cards lately where the layers are added to the embossing and I love it. Gives it a whole new look.
Hope you have a great day....
Wednesday, February 2, 2011
Valentine Love Box
Good morning,
Looks like nothing as bad as it could have been up north, in the cyclone, which is so good. Had the television on all morning but I suppose when people can start coming out, it may look a little different.
Today, I have this cute little box (excuse my quality of photo please) that I saw on The Queen's Scene in her tutorial section. It is so cool but you will have to do a lot of working it out yourself.
Don't you just love the hearts. I also love the Always stamp set and use this heart a lot.
Stamp set: Always
Card: Pink pirouette, whisper white
Ink: Old olive, pink pirouette, rose red
Acc: Designer brads and pink pirouette ribbon
Tools: Heart to heart punch
Like I said, check out Lynn's tutorial. But I'll just add some quick instructions.
Need a piece of A4 card. Your box base is 21/4" x 21/4" with 1/2" all around for the sides. What I did was stamp and cut out a heart and pencil mark that on my card, then taking into consideration the middle of the box (make sense to you!!!). I was just thinking it might be good to do a template of the base (and side, so 23/4" x 23/4", with the lines scored for 1/2" sides) and a template of the heart and then place it on your card, to work out the size and shape of your box. I agree with Lynn, when she said having the hearts as part of the box, makes it stronger. I would still pencil the shape, cut out and then rub out the pencil. The hearts will be covered by the stamped image you put on anyway. I did like the way it looked like matting on the box I did. I will make another one but do the templates, so I can get the points of the hearts as well.
Then punch holes on both sides (top) of hearts to tie ribbon through, to bring top of box together.
Cut 8" x 3/4" card for the handle. I used the heart to heart punch to add another little heart, under the brads to hold the handle to the box. Lynn did that, and I loved that look, extra dimension.
I was going to add the tag to the box but it didn't really go, so I thought I would put a bag of chocolates in there with the tag wrapped around them!!
Hope you like and have a great day....
Looks like nothing as bad as it could have been up north, in the cyclone, which is so good. Had the television on all morning but I suppose when people can start coming out, it may look a little different.
Today, I have this cute little box (excuse my quality of photo please) that I saw on The Queen's Scene in her tutorial section. It is so cool but you will have to do a lot of working it out yourself.
Don't you just love the hearts. I also love the Always stamp set and use this heart a lot.
Stamp set: Always
Card: Pink pirouette, whisper white
Ink: Old olive, pink pirouette, rose red
Acc: Designer brads and pink pirouette ribbon
Tools: Heart to heart punch
Like I said, check out Lynn's tutorial. But I'll just add some quick instructions.
Need a piece of A4 card. Your box base is 21/4" x 21/4" with 1/2" all around for the sides. What I did was stamp and cut out a heart and pencil mark that on my card, then taking into consideration the middle of the box (make sense to you!!!). I was just thinking it might be good to do a template of the base (and side, so 23/4" x 23/4", with the lines scored for 1/2" sides) and a template of the heart and then place it on your card, to work out the size and shape of your box. I agree with Lynn, when she said having the hearts as part of the box, makes it stronger. I would still pencil the shape, cut out and then rub out the pencil. The hearts will be covered by the stamped image you put on anyway. I did like the way it looked like matting on the box I did. I will make another one but do the templates, so I can get the points of the hearts as well.
Then punch holes on both sides (top) of hearts to tie ribbon through, to bring top of box together.
Cut 8" x 3/4" card for the handle. I used the heart to heart punch to add another little heart, under the brads to hold the handle to the box. Lynn did that, and I loved that look, extra dimension.
I was going to add the tag to the box but it didn't really go, so I thought I would put a bag of chocolates in there with the tag wrapped around them!!
Hope you like and have a great day....
Tuesday, February 1, 2011
Happy Birthday Bon Bon
Another afternoon post!!!
Hope everyone is good, there is so much happening in Australia at the moment. Very hard to get away from the television with so much happening.
But I have a little birthday gift box for today, but it looks like a bon bon!!
Isn't this just too cute. I was going to let you know where I found the pattern but I just tried the blogspot at the bottom of the page, and it won't work. So you will have to give me time to find it!!!!!
Stamp set: Teeny tiny sentiments
Card: Baja breeze, old olive, dsp - playdate, whisper white, chocolate chip
Ink: Chocolate chip
Tools: 2 step owl punch, word window punch
Hope you like it, have a lovely date.....
Hope everyone is good, there is so much happening in Australia at the moment. Very hard to get away from the television with so much happening.
But I have a little birthday gift box for today, but it looks like a bon bon!!
Isn't this just too cute. I was going to let you know where I found the pattern but I just tried the blogspot at the bottom of the page, and it won't work. So you will have to give me time to find it!!!!!
Stamp set: Teeny tiny sentiments
Card: Baja breeze, old olive, dsp - playdate, whisper white, chocolate chip
Ink: Chocolate chip
Tools: 2 step owl punch, word window punch
Hope you like it, have a lovely date.....
Monday, January 31, 2011
Origami Bow
Good Afternoon,
Oh I am so upset I missed my morning. But I am on it now and posting my tutorial of the Origami Bow. Lots and lots of photos to show you step by step.
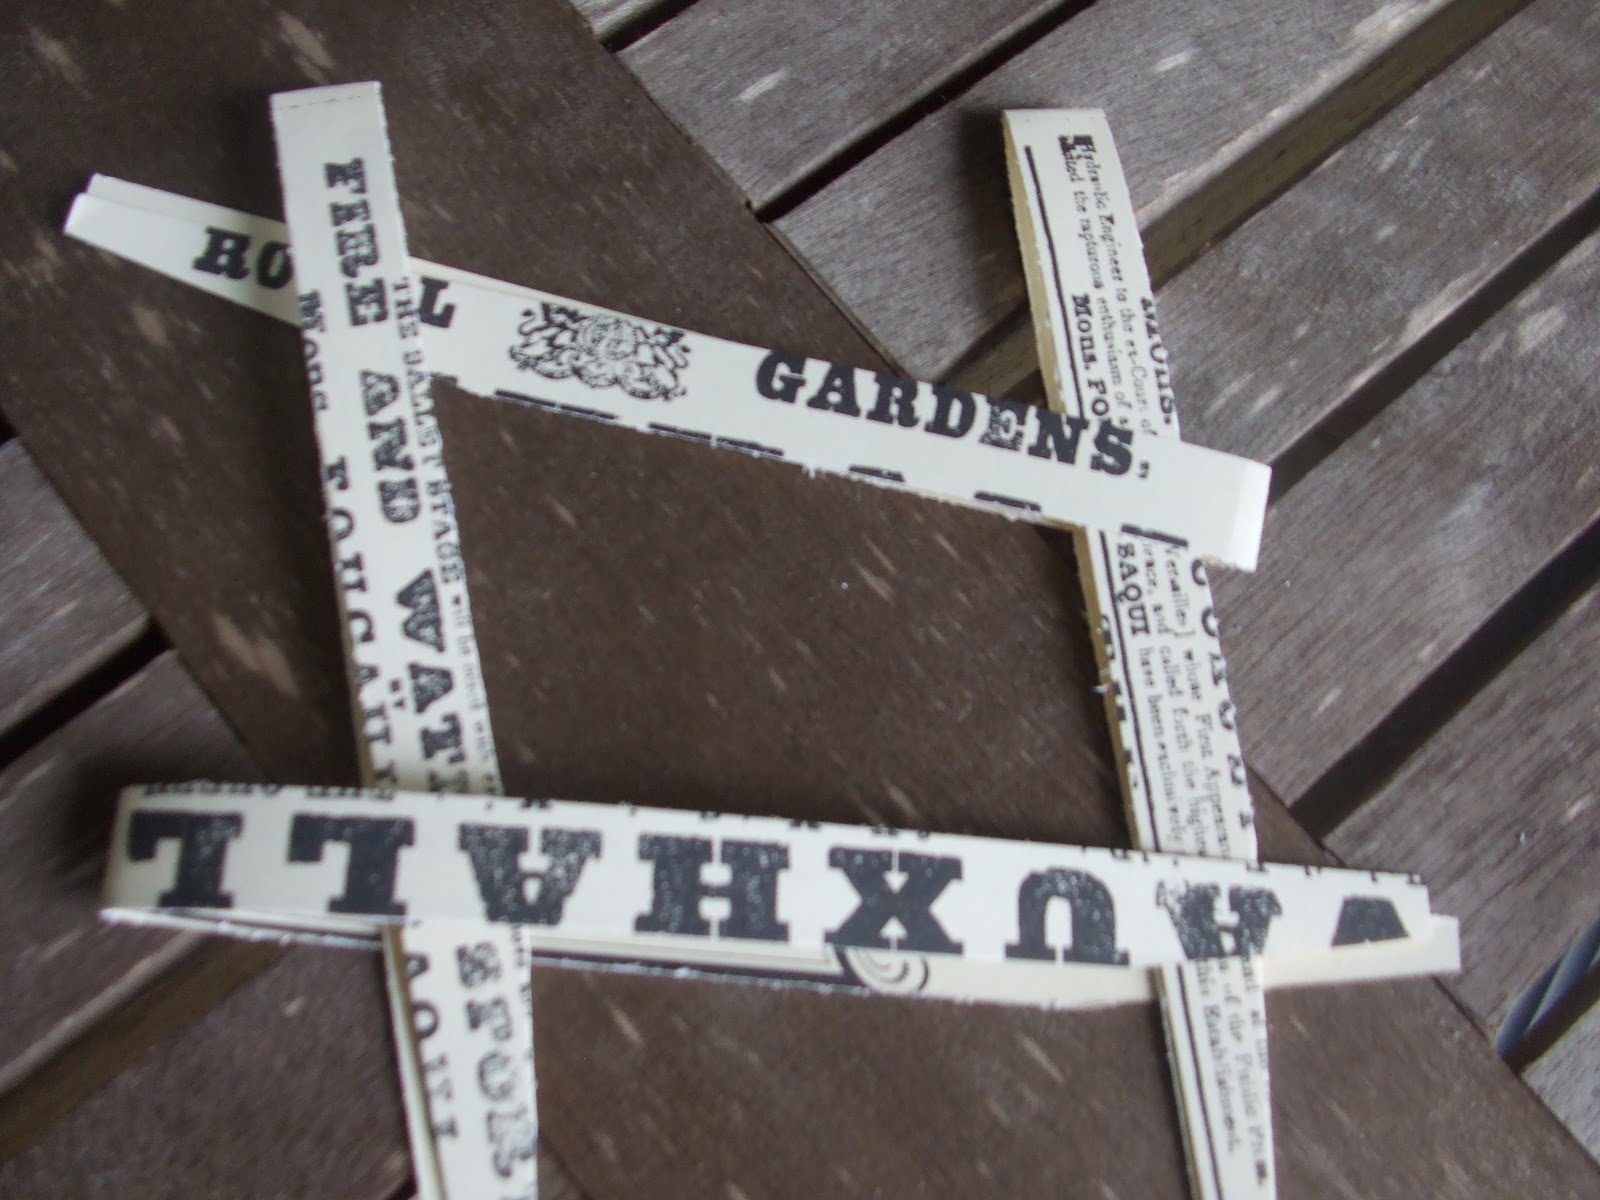
I know the colours are not great but this is all the designer printed paper I have at the moment (buying more today!!). Cut 4 pieces of 1/2" x 12" printed paper
Fold all four pieces in half
Cut the ends on a slant (as shown above).
Place all four pieces through each other, do not separate the pieces. This bottom piece, should be in the middle together - not separated.
Pull pieces up, over, down and across slowly together to get this tight square (on all four sides there are two pieces) just trying to stress the importance of keeping the pieces together.
Starting at the bottom, bring one piece of paper up. The right side, over. The top, down. The left side is the only one that is different. When you bring it across, you need to loop it under the square on the left. (I haven't done that with this top photo yet, that is why the piece of paper is sitting up.
Sorry, just showing you another photo of the piece now tucked through the left.
I am going to show you a few photos of this little complicated bit. It is easier to show this part then explain it.
This is the four sides finished. Now we cut off the excess dsp (just the top bits)
This is it with all four excess dsp cut off
Turn over the bow and now we do the same thing on this side. Turn the piece of dsp under and flip over to push into tab (did you like that!!!!! make heaps of sense - don't worry I have a heap more photos)
Ohhhhhhh, I haven't shown this one but you can refer back up to the top photos, as we are doing the exact same thing to get the points, at the end.
This is all the four sides finished. Now we are going to do the little bow on the very top.
Sorry, it is a bit blurry (our days have been really overcast and I have been having trouble getting good photos).
This is two of the sides done. You need to flip the dsp around and under the tab beside it and it pulls through the bottom triangle. This photo is showing the dsp (at the bottom) coming through the triangle. This is why you needed to cut the angle on the pieces of dsp in the beginning.
All four ends are sticking out of the triangles. And to finish off the bow, we simply cut off the ends.
And one I did at Christmas time. I did take the photo at the same time which is why it is blurry (sorry, I promise I am buying a new camera)
I hope that my instructions were easy to understand, but the more you make the easier they are. Truly, they are so much fun to make. I try and make one every week or so, so I don't forget how to make them.
Have a lovely afternoon...
Oh I am so upset I missed my morning. But I am on it now and posting my tutorial of the Origami Bow. Lots and lots of photos to show you step by step.
I know the colours are not great but this is all the designer printed paper I have at the moment (buying more today!!). Cut 4 pieces of 1/2" x 12" printed paper
Fold all four pieces in half
Cut the ends on a slant (as shown above).
Place all four pieces through each other, do not separate the pieces. This bottom piece, should be in the middle together - not separated.
Pull pieces up, over, down and across slowly together to get this tight square (on all four sides there are two pieces) just trying to stress the importance of keeping the pieces together.
Starting at the bottom, bring one piece of paper up. The right side, over. The top, down. The left side is the only one that is different. When you bring it across, you need to loop it under the square on the left. (I haven't done that with this top photo yet, that is why the piece of paper is sitting up.
Sorry, just showing you another photo of the piece now tucked through the left.
I am going to show you a few photos of this little complicated bit. It is easier to show this part then explain it.
This is the four sides finished. Now we cut off the excess dsp (just the top bits)
This is it with all four excess dsp cut off
Turn over the bow and now we do the same thing on this side. Turn the piece of dsp under and flip over to push into tab (did you like that!!!!! make heaps of sense - don't worry I have a heap more photos)
Ohhhhhhh, I haven't shown this one but you can refer back up to the top photos, as we are doing the exact same thing to get the points, at the end.
This is all the four sides finished. Now we are going to do the little bow on the very top.
Sorry, it is a bit blurry (our days have been really overcast and I have been having trouble getting good photos).
This is two of the sides done. You need to flip the dsp around and under the tab beside it and it pulls through the bottom triangle. This photo is showing the dsp (at the bottom) coming through the triangle. This is why you needed to cut the angle on the pieces of dsp in the beginning.
All four ends are sticking out of the triangles. And to finish off the bow, we simply cut off the ends.
And one I did at Christmas time. I did take the photo at the same time which is why it is blurry (sorry, I promise I am buying a new camera)
I hope that my instructions were easy to understand, but the more you make the easier they are. Truly, they are so much fun to make. I try and make one every week or so, so I don't forget how to make them.
Have a lovely afternoon...
Sunday, January 30, 2011
Bows bows, bows Challenge
Hi,
I have just finished the Pals Paper Arts challenge and it is such a sweet challenge. Making bows, how much fun. I watched the making of my bow on u-tube but tomorrow I will try and do a tutorial (I have taken the pictures) to show you.
And this is my card, not very colourful but I was using the newspaper print!!!!! (my excuse anyway)
Stamp set: Curvy verses
Card: Whisper white and dsp - newspaper print, basic black
Ink: Basic black
Tools: Scallop circle punch, paper piercer and mat.
I hope you like this and thanks for stopping by....
I have just finished the Pals Paper Arts challenge and it is such a sweet challenge. Making bows, how much fun. I watched the making of my bow on u-tube but tomorrow I will try and do a tutorial (I have taken the pictures) to show you.
And this is my card, not very colourful but I was using the newspaper print!!!!! (my excuse anyway)
Stamp set: Curvy verses
Card: Whisper white and dsp - newspaper print, basic black
Ink: Basic black
Tools: Scallop circle punch, paper piercer and mat.
I hope you like this and thanks for stopping by....
Subscribe to:
Posts (Atom)