I am so sorry I have missed a few days. My intention, when I started the blog, was to post every day. But I think I need to put one day aside to make lots of things ready to post during the week, as I can't keep up. I have not studied in ages and ages, and I think it has taken a lot out of me. So now that I have bored you with that bit of trivia, let me show you the cutest bag. Of course I cased it (you will be surprised the day I actually come up with something myself - and that will be my motivation, to try)
I just had a look at my pictures and I was going to do a tutorial for you. So give me a minute and I'll organise myself.........
Okay, I have myself organised now, so here we go:


Dsp - 8 1/2" x 11" scored at (8 1/2") 2 1/2" and 6"
scored at (11") 4 1/2" and 6 1/2"
the rest is decoration but if you would like dimensions for these just let me know.
fold all score line as above. There are four extra lines there that you need to make folds yourself. On all four sides; fold the top line down to the score line. You may need to practise this but once you have it, you will find it so much easier when making bags and boxes (like this). I am going to be making quite a few more of these types of bags/boxes with instructions so start perfecting it now.


Stamp set: Teeny tiny sentiments
Card: Dsp - newspaper print, so saffron, old olive, basic black and peach parfait
Ink: So saffron and basic black
Acc: Flower brad and twine
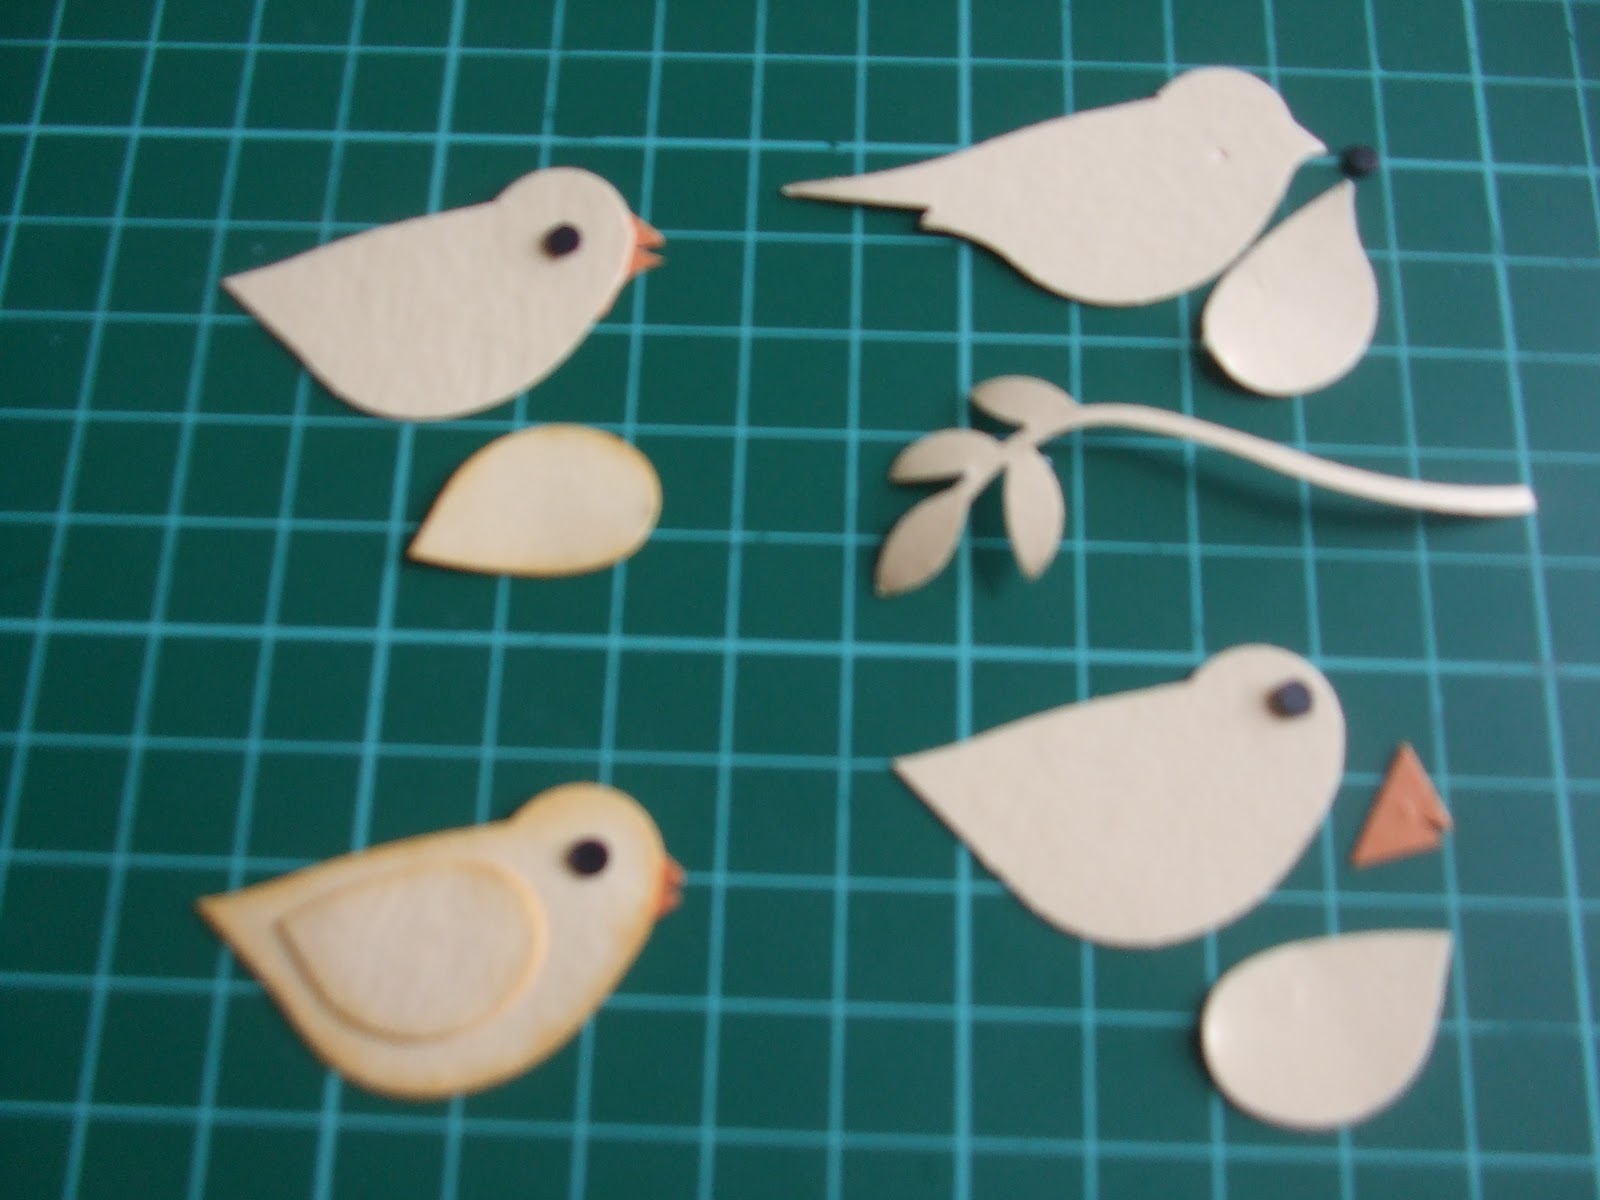
Tools: Two step bird punch, scallop edge punch, crop-a-dial and paper piercer.
Thanks for stopping by and if you have any queries please let me know.
Have a lovely day....
Adorable! Great picture tutorial ... I'm that visual person.
ReplyDelete